Upgrading to Windows 11 24H2 using an ISO file is a convenient method that doesn’t require a USB drive. Follow these simple steps to ensure a smooth installation process.
Step 1: Check Your Current Windows Version
Before proceeding, verify your current Windows version:
- Right-click the Start menu, select Run, type winver, and press Enter.
Step 2: Download the Windows 11 24H2 ISO File
- Visit the official Download Windows 11 webpage.
- Scroll down to Download Windows 11 Disk Image (ISO) and click Select Download.
- Choose Windows 11 Multi-Edition ISO, then click Download Now.
- Select the product language, click Confirm, then choose 64-bit Download.
- Pick a save location and begin the download.
Step 3: Mount and Install Windows 11 24H2
- Once downloaded, right-click on the ISO file and select Mount, or simply double-click it.
- Navigate to This PC and open the mounted drive (it may launch automatically).
- Click on the Setup file to start the installation.
- In the setup interface, select Change how Setup downloads updates, then choose Not right now, or leave it as default to download updates during installation.
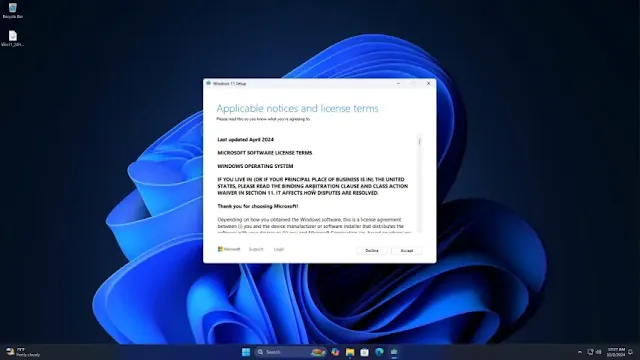
- Click Next, then Accept the license terms.
- Under Change what to keep, select whether to retain personal files and apps, keep personal files only, or wipe everything.
- Click Install and wait for the process to complete.
Step 4: Verify the Installation
After the installation finishes:
- Check your Windows version again by right-clicking the Start menu, selecting Run, typing winver, and hitting Enter.
- Go to Settings > Windows Update, and ensure your system is fully updated.
Upgrading with an ISO file is an efficient way to get Windows 11 24H2 without additional hardware.
Tags
Windows

