
The Windows 11 Start Menu is your gateway to apps, files, and settings. Customizing it can streamline your workflow and make navigation more intuitive. Here’s how you can tweak it to match your preferences.
The Start Menu customization begins by accessing its settings. Right-click the Start menu and select Settings, or press Windows key + I to open Settings. Then, navigate to Personalization and click on Start.
Under the Layout section, you can adjust the menu view - choosing between more pins, default, or more recommendations. Additionally, toggle options like show recently added apps, show most used apps, show recently opened items, show recommendations, and show account-related recommendations to tailor the experience.
For further customization, click on Folders to select which folders appear next to the power button on the Start menu.
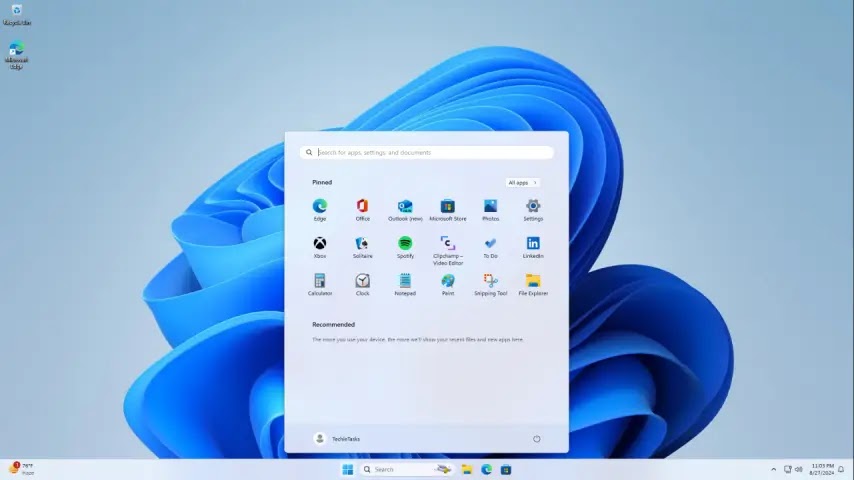
Lastly, managing pinned apps is straightforward. Open the Start Menu, head to All apps, then right-click any app and select Pin to Start or Unpin from Start to adjust the pinned area. If you want better organization, drag and drop two apps together to create a folder - rename it and add additional apps for quick access.
By making these adjustments, you can refine your Start Menu experience to be more efficient and personalized.