Managing system resources effectively is crucial for ensuring optimal performance and stability in Linux-based environments. One of the most practical tools for this purpose is the swap file, which provides additional virtual memory and helps handle memory-intensive processes efficiently.
How to Create and Manage a Swap File in Linux
A swap file is a critical component in Linux that acts as an extension of the physical memory (RAM), providing a buffer when the system's RAM is fully utilized. Here’s a step-by-step guide to checking, disabling, creating, and configuring a swap file on your Linux system.
Checking Existing Swap Space
Before creating a swap file, it’s good to verify whether your system already has swap space:
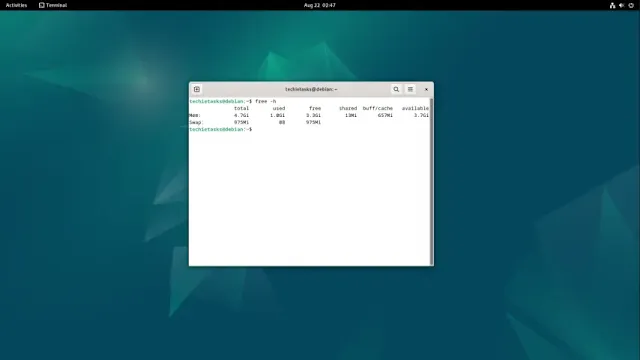
Use the free command:
free -h
This displays the amount of free and used memory, including swap space.
Use the swapon command:
swapon --show
This shows all active swap spaces, whether partitions or files. If no swap space is configured, these commands will either show zeroes or no output.
Checking Available Disk Space
To ensure sufficient space for creating a swap file, check your disk usage:
df -h
This command displays the available disk space in a user-friendly format.
Disabling Swap Spaces
If you need to disable existing swap spaces temporarily:
sudo swapoff -a
To permanently disable swap partitions or files, edit the fstab file:
sudo nano /etc/fstab
For swap partitions, locate lines like:
#UUID=XXX-XXX-XXX none swap sw 0 0
For swap files, look for lines like:
#/swapfile none swap sw 0 0
Comment out these lines by adding # or delete them entirely. Save and exit by pressing Ctrl + X, Y, and Enter.
Creating a Swap File
The size of the swap file typically matches your RAM size or is double it for systems with low RAM. For example, to create a 6GB swap file:
Create the swap file:
sudo fallocate -l 6G /swapfile
Set appropriate file permissions:
sudo chmod 600 /swapfile
This ensures only the root user can access the file securely.
Format the file as swap space:
sudo mkswap /swapfile
Activate the swap file:
sudo swapon /swapfile
Make the change permanent: Add the following line to /etc/fstab:
/swapfile none swap sw 0 0
Save and exit the file using Ctrl + X, Y, and Enter.
Configuring Swappiness
Swappiness defines how actively the system uses swap space. To configure it:
Edit the sysctl.conf file:
sudo nano /etc/sysctl.conf
Add the following line:
vm.swappiness=10
10 means the system will start using swap when available RAM drops below 90%.
Adjust this value as needed. Lower values mean minimal swap use; higher values indicate more frequent swapping.
Apply the changes:
sudo sysctl -p
Verifying the Swap File
After rebooting the system, verify the swap file is active:
swapon --show
Creating and managing a swap file in Linux is a straightforward process that enhances system performance and stability under heavy workloads. By following this guide, you’ll ensure your system operates efficiently and avoids memory-related issues.

