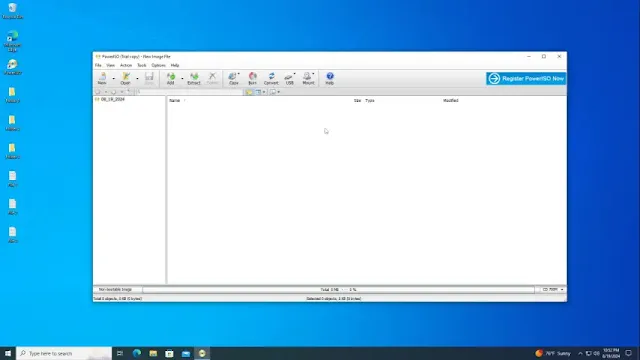
Creating an ISO file is a handy way to organize and archive your files. In this guide, we’ll show you how to use PowerISO to create an ISO file step by step.
To begin, ensure you’ve downloaded and installed PowerISO on your computer. Once installed, open the PowerISO application (you may need to run it as an administrator). After launching, click on "Continue Trial Version" to proceed.
From the toolbar, click the "Add" button to include the files and folders you’d like in your ISO file. For efficiency, you can hold the "Control" key to select multiple items or simply drag and drop files from Windows Explorer into the PowerISO window. Need additional organization? Feel free to create new folders or modify labels within the application.
When your files and settings are ready, click the "Save" button on the toolbar or navigate to "File" > "Save" from the menu. Then, choose a name for your file and ensure the output format is set to "Standard ISO Images (*.ISO)."
PowerISO will begin creating the ISO file, with a progress bar to keep you updated. Once the process is complete, your ISO file will be ready to use.
Note: The trial version of PowerISO allows you to create or edit ISO files up to 300MB in size for free.
Creating ISO files has never been easier, start organizing your files today!

