If you want to disable BitLocker automatic device encryption during the installation of Windows 11 24H2, follow these methods:
Method 1: Disable During Installation
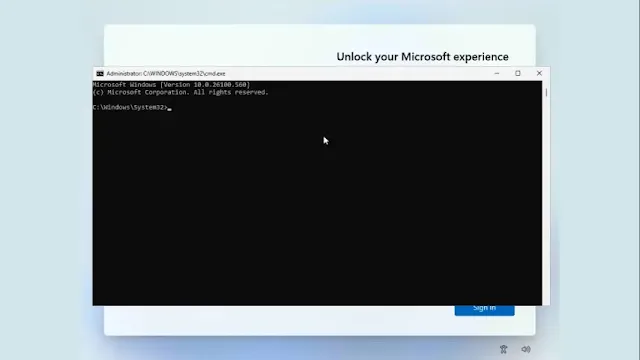
Open Command Prompt:
- When you reach the Out-of-Box Experience (OOBE) screen, press Shift + F10 to open the Command Prompt.
Open Registry Editor:
- Type regedit and press Enter to open the Registry Editor.
Modify Registry to Prevent Device Encryption:
- Navigate to HKEY_LOCAL_MACHINE\SYSTEM\CurrentControlSet\Control\BitLocker.
- Right-click in the BitLocker folder and select New > DWORD (32-bit) Value.
- Name the new value PreventDeviceEncryption.
- Double-click on PreventDeviceEncryption, change its value data to 1, and click OK.
Close Registry Editor and Command Prompt:
- Close both the Registry Editor and the Command Prompt.
Update: Unfortunately, the first method no longer works on newer Windows 11 24H2 builds. You can use Rufus to disable automatic device encryption before installation, or follow the second method to disable device encryption from Settings.
Method 2: Disable After Installation
Open Settings:
- Once Windows installation is complete and you’re on the desktop, press Windows key + I to open Settings.
Navigate to Device Encryption:
- Click on Privacy & Security.
- Then click on Device Encryption.
Disable Device Encryption:
- Find the option to disable BitLocker automatic device encryption.
- Toggle it off and wait until the decryption process is finished.
By following these methods, you can effectively disable BitLocker automatic device encryption during or after the installation of Windows 11 24H2.
Tags
Windows

