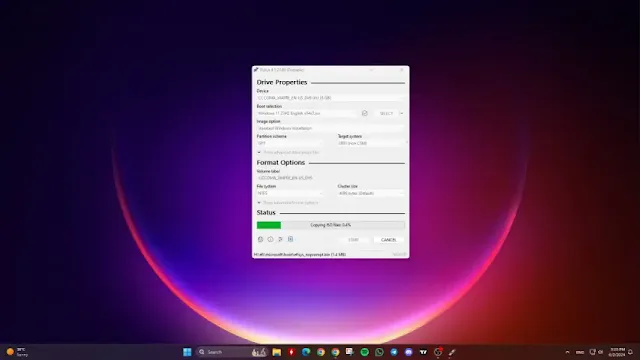
Creating a bootable USB drive for Windows 11 is straightforward with the help of the Rufus application. Here’s a step-by-step guide:
Requirements
- USB Flash Drive: 8 GB or higher.
- Windows 11 ISO File: Ensure you have the ISO file. If you need help, you can refer to our article on how to download the Windows 11 ISO.
- Rufus Application: Downloadable from the official Rufus website.
Important Note
Be aware that the USB drive will be formatted during this process, meaning all data on it will be erased. Make sure to back up any necessary files beforehand.
Steps to Create a Bootable USB Drive
Download Rufus:
- Open your browser and search for “Rufus.”
- Navigate to the official Rufus website.
- Scroll down to the Download section and choose between the Standard or Portable version. The Portable version is recommended.
Prepare Your USB Drive:
- Insert the USB drive into your computer.
Open Rufus:
- Launch the Rufus application.
Configure Rufus:
- In the Rufus interface, under the Device option, select your USB drive.
- Under Boot Selection, click on Select and choose your Windows 11 ISO file.
Default Settings:
- Keep the rest of the settings at their default values.
Start the Process:
- Click on the Start button.
- You can customize the Windows installation by checking or unchecking available options to modify requirements for +4GB RAM, Secure Boot, TPM 2.0, and the online Microsoft account.
Confirm and Proceed:
- Click OK, and then OK again to confirm.
Wait for Completion:
- Wait for the process to finish. Rufus will create the bootable USB drive with your Windows 11 ISO file.
By following these steps, you will have a bootable USB drive ready for installing Windows 11 on your device.
Tags
Windows

