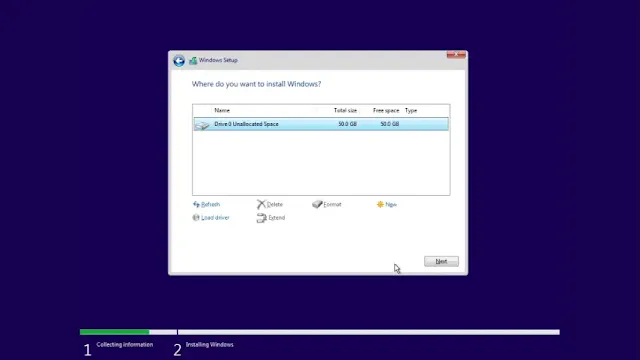
Converting your disk from MBR to GPT during Windows installation is essential if you want to switch from Legacy boot to UEFI boot. Here’s a step-by-step guide to help you through the process.
Step 1: Ensure UEFI Compatibility
Before attempting to convert the disk to GPT, make sure your device supports UEFI. This step is crucial because the firmware needs to be configured to boot in UEFI mode.
For detailed instructions on changing BIOS mode from Legacy to UEFI, check out our article: "How To Change BIOS Mode from Legacy to UEFI".
Step 2: Open Command Prompt in Windows Setup
- Windows Setup Screen: While you are in the Windows Setup screen, press Shift + F10 to open the command prompt.
Step 3: Convert Disk from MBR to GPT
- Open Diskpart: Type diskpart and hit Enter.
- List Disks: Type list disk and hit Enter. This command lists all the disks on your system.
- Select Disk: Identify the disk you want to convert. For example, if it’s Disk 0, type select disk 0 and hit Enter. Make sure to choose the correct disk number for your system.
- Clean Disk: Type clean and hit Enter. This command deletes all partitions and data from the selected disk.
- Convert to GPT: Type convert gpt and hit Enter.
- Exit Diskpart: Type exit and hit Enter twice to close Diskpart and the command prompt.
Step 4: Continue Windows Installation
- Resume Installation: Proceed with your Windows installation.
- Change Boot Mode: After Windows restarts, enter the BIOS or UEFI setup. Change the boot mode to UEFI if it’s not already set.
By following these steps, you can successfully convert your disk from MBR to GPT during Windows installation and configure your system to boot in UEFI mode.
Tags
Windows

