Converting a GPT disk to MBR can be a crucial step when dealing with compatibility issues or specific software requirements, and doing so without losing data is essential. This comprehensive guide provides step-by-step instructions for converting both operating system and data disks from GPT to MBR. Whether you're using tools like DiskGenius or navigating through BIOS settings, this article ensures a smooth and data-preserving conversion process. Follow along to effortlessly transition your disk format while keeping all your data intact.
Part 1: Convert GPT to MBR without Losing Data for OS Disk
Preparation:
Bootable USB Drive:
- Ensure you have a USB drive with a bootable Windows installation as it will be needed during the process.
Steps:
Install DiskGenius:
- Search for DiskGenius using your preferred browser and navigate to the official website.
- Download and install DiskGenius on your computer.
Convert Disk Using DiskGenius:
- Open DiskGenius and identify the system disk you want to convert. For this example, we will use Disk 0.
- Right-click on the GPT disk and select "Convert To MBR Partition Table".
- Click "OK" to confirm the conversion, then click "Save All" from the toolbar and confirm by clicking "Yes".
Switch to Legacy BIOS Mode:
- Restart your computer and enter the BIOS to switch the BIOS mode to Legacy BIOS. You can refer to articles on "How to Enter BIOS or UEFI by Manufacturer" and "How to Change Boot Mode from UEFI to Legacy or CSM" for detailed guidance.
Boot from USB and Open Command Prompt:
- Insert the USB drive with the bootable Windows installation and boot into the Windows installation setup.
- Click on "Next", then select "Repair My Computer".
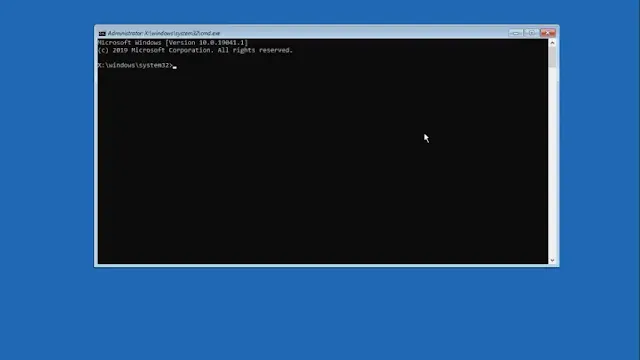
- Click on "Troubleshoot" and then "Command Prompt".
Use DiskPart to Prepare the Disk:
- In Command Prompt, type:
diskpart
- then hit enter.
List disks by typing:
list disk
- Identify the disk you want to convert (e.g., Disk 0).
Select the disk by typing:
select disk 0
- (Replace 0 with the correct disk number if different).
List volumes by typing:
list volume
- Identify the System Reserved Partition (usually around 50-100 MB) and the Primary Partition (where Windows is installed).
Select the System Reserved volume:
select volume 1
- (Replace 1 with the correct volume number).
Format the volume with NTFS by typing:
format fs=ntfs
Mark the partition as active:
active
Exit DiskPart:
exit
Configure Boot Files:
- While still in Command Prompt, type:
bcdboot d:\windows /s c: /f BIOS
- (Replace D with your Primary Partition letter and C with your System Reserved partition letter).
Restart and Boot:
- Exit Command Prompt by typing:
exit
- Turn off your PC, remove the USB drive, and turn it back on. You should see an option to continue to Windows.
Part 2: Convert GPT to MBR Without Losing Data for Data Disk
Steps:
Install DiskGenius:
- Search for DiskGenius using your preferred browser and navigate to the official website.
- Download and install DiskGenius on your computer.
Convert Data Disk Using DiskGenius:
- Open DiskGenius and identify the data disk you want to convert. For this example, we will use Disk 1.
- Right-click on the GPT disk and select "Convert To MBR Partition Table".
- Click "OK" to confirm the conversion, then click "Save All" from the toolbar and confirm by clicking "Yes".
And that's it! By following these steps, you can successfully convert GPT to MBR without losing any data.

