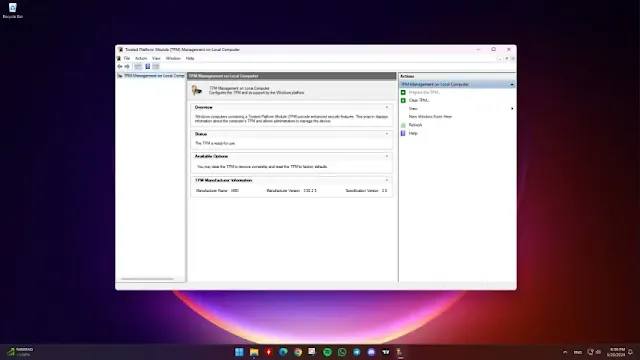
Ensuring your device has a Trusted Platform Module (TPM) chip is important for the security features in Windows 11. Here’s how you can check if your PC has a TPM chip and verify its version.
Step 1: Using the TPM Management Console
- Open the Start Menu: Click the Start button and search for TPM.MSC. Click the top result.
- Alternatively: Press Windows key + R to open the Run dialog box, type TPM.MSC, and hit Enter to open the Trusted Platform Module (TPM) Management console.
- Check the Status: In the TPM Management console, under the "Status" section, confirm that it says "The TPM is ready for use". This indicates that your device has a TPM chip and it's enabled.
- If the message "Compatible TPM cannot be found" is displayed, your computer might not have a TPM chip, or it could be disabled. For more information on how to enable or disable TPM in the BIOS, you can refer to our article guide.
- Verify the Version: Under the "TPM Manufacturer Information" section, check the "Specification Version" to confirm it reads 2.0. TPM 2.0 is required for running Windows 11.
Step 2: Using Device Manager
- Open Device Manager: Open the Start Menu, search for Device Manager, and click the top result to open the app.
- Expand Security Devices: In Device Manager, expand the "Security devices" branch.
- Confirm TPM Entry: Look for the "Trusted Platform Module 2.0" entry to verify the presence and activation of the TPM chip.
By following these steps, you can confirm whether your PC includes a hardware-based security module necessary for Windows 11.
Tags
Windows

